After successfully creating and running a Docker image/container with Jenkins and the new “Workflow-Engine” we should get our fingers dirty and code a first “workflow” 😉 As usual that would be some kind of “Hello World” …
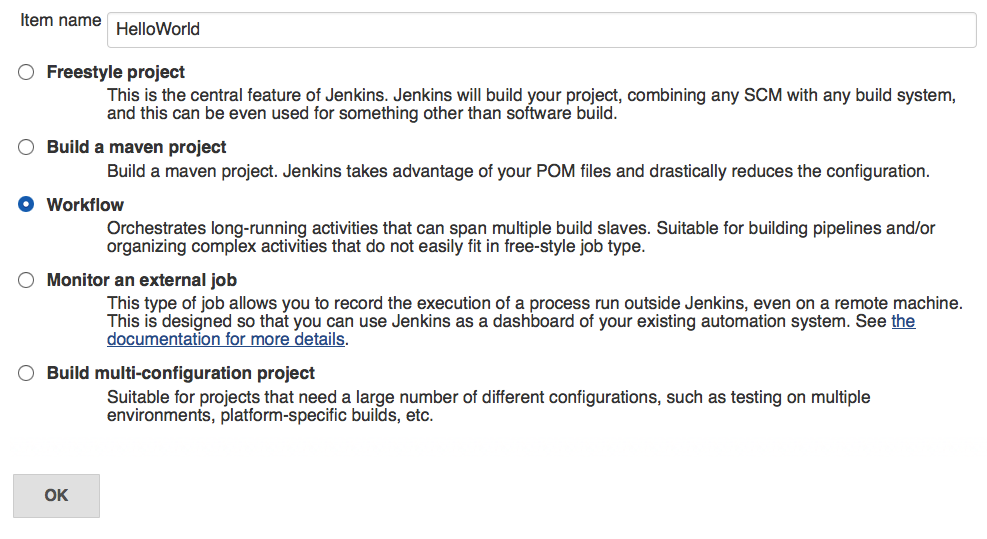
As first step we create a new Jenkins job of type “Workflow” and name it “HelloWorld”.

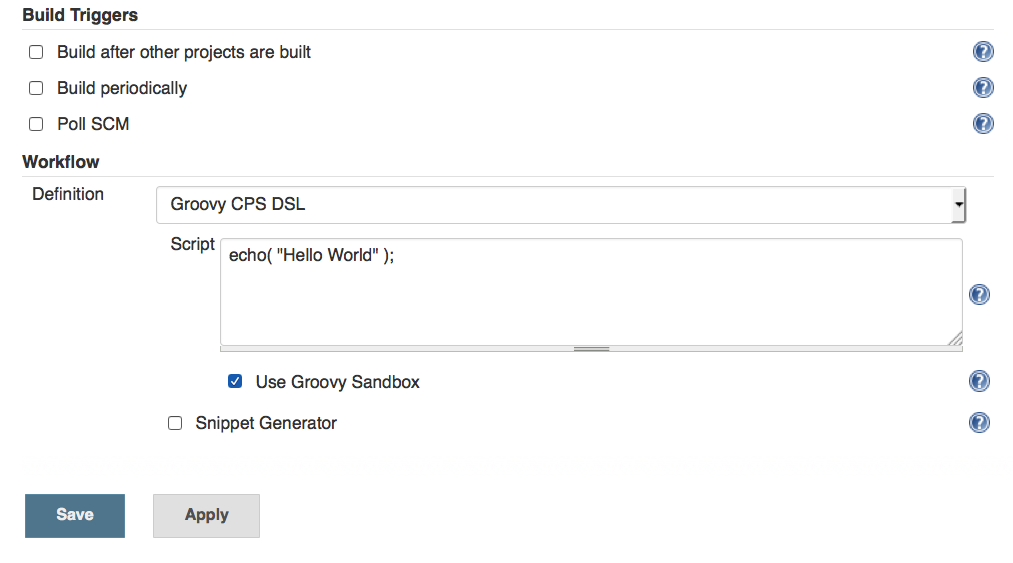
To keep things simple we don’t use any source code repository (SCM) for this example. So we have to fill in some more or less useful commands (like echo("Hello World");) into script area of the Workflow configuration section and check “Use Groovy Sandbox”. Nothing more, nothing less.

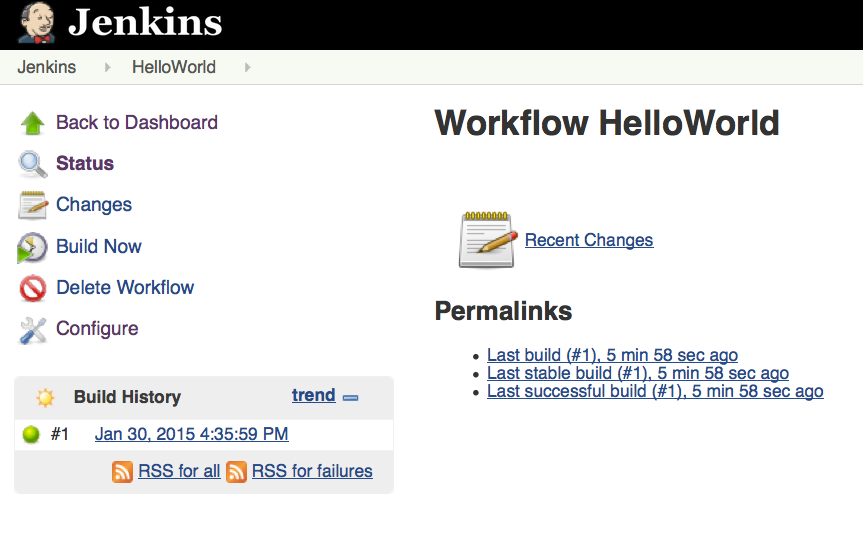
After saving the job we have to start it manually by pressing “Build Now” button.

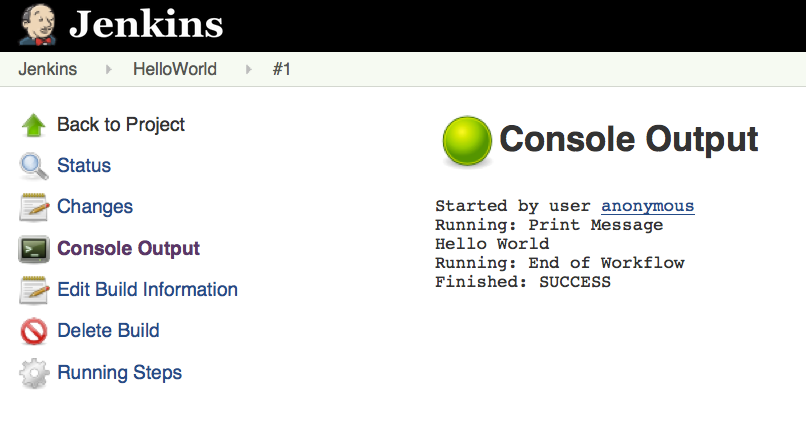
If you look at the console output afterwards you should see something similar:

That’s all. We created and run our first (simple) Jenkins Workflow job.
Summary:
Jenkins Workflow Engine adds a new job type named “Workflow”. In contrast to other job types it doesn’t provide so much configuration possibilities: Of course you can
- give it a name,
- trigger the build by
- scheduling,
- polling a source repository or
- joining to another project and
- write or provide a Groovy based DSL script
This script is there all the magic happens, usually more than echoing „Hello World“ – but this we will explore more deeply in following posts.